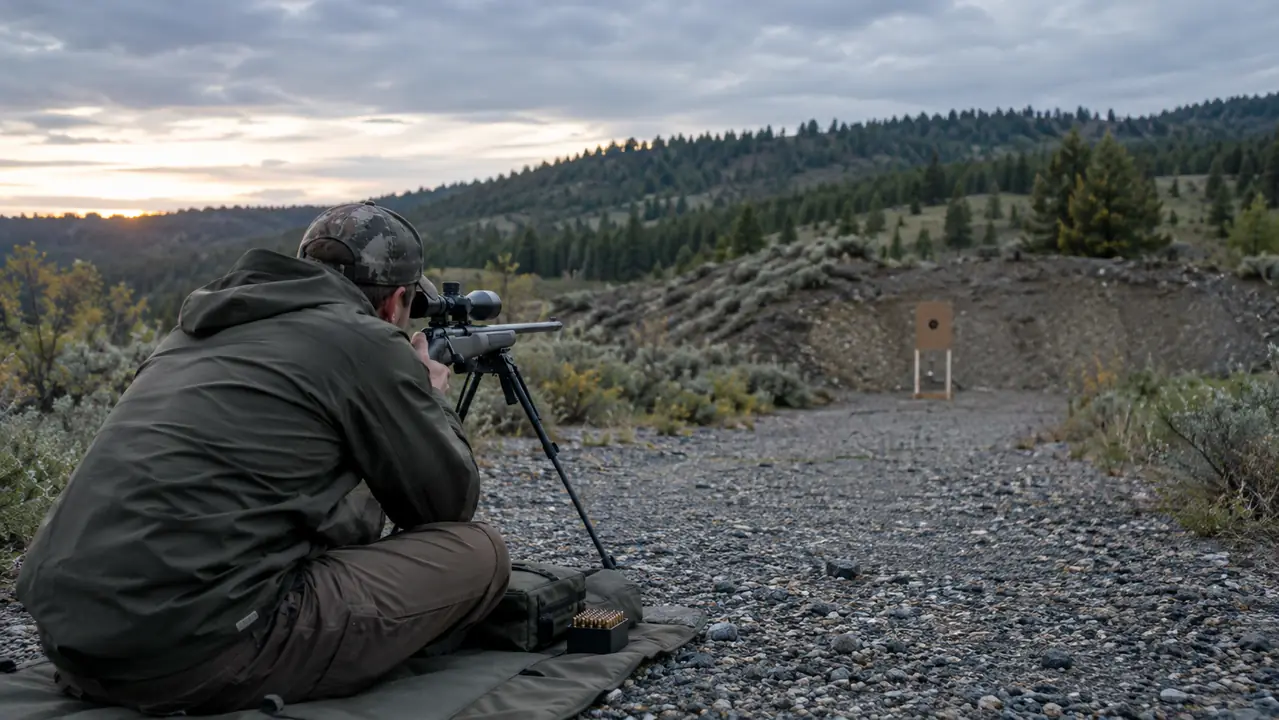
I have watched more than one good hunter lose a season because the rifle was never properly sighted in. They buy a scope, mount it, fire a few shots at a target, and call it done. Then opening morning comes, the shot is 180 yards across a logging cut, and the bullet lands low and left. That is not a rifle problem. That is a process problem.
Sighting in a rifle scope at 100 yards is a skill you can learn in one afternoon at a gravel pit, with a box of ammunition, a stable rest, and a scope that holds zero. I have used a Vortex Crossfire II 3-9x40 on my .308 for years, and it has made this process boring in the best way. Here is exactly how I do it, step by step, the way I would walk a friend through it.
Start With a Scope That Holds Zero
The Vortex Crossfire II 3-9x40 is the scope I trust for this job. It tracks predictably, holds zero in cold rain, and costs less than a tank of gas for a week of elk hunting. Check today's price on Amazon.
Amazon Check Today's Price on Amazon →Step 1: Mount the Scope So It Points Where You Look
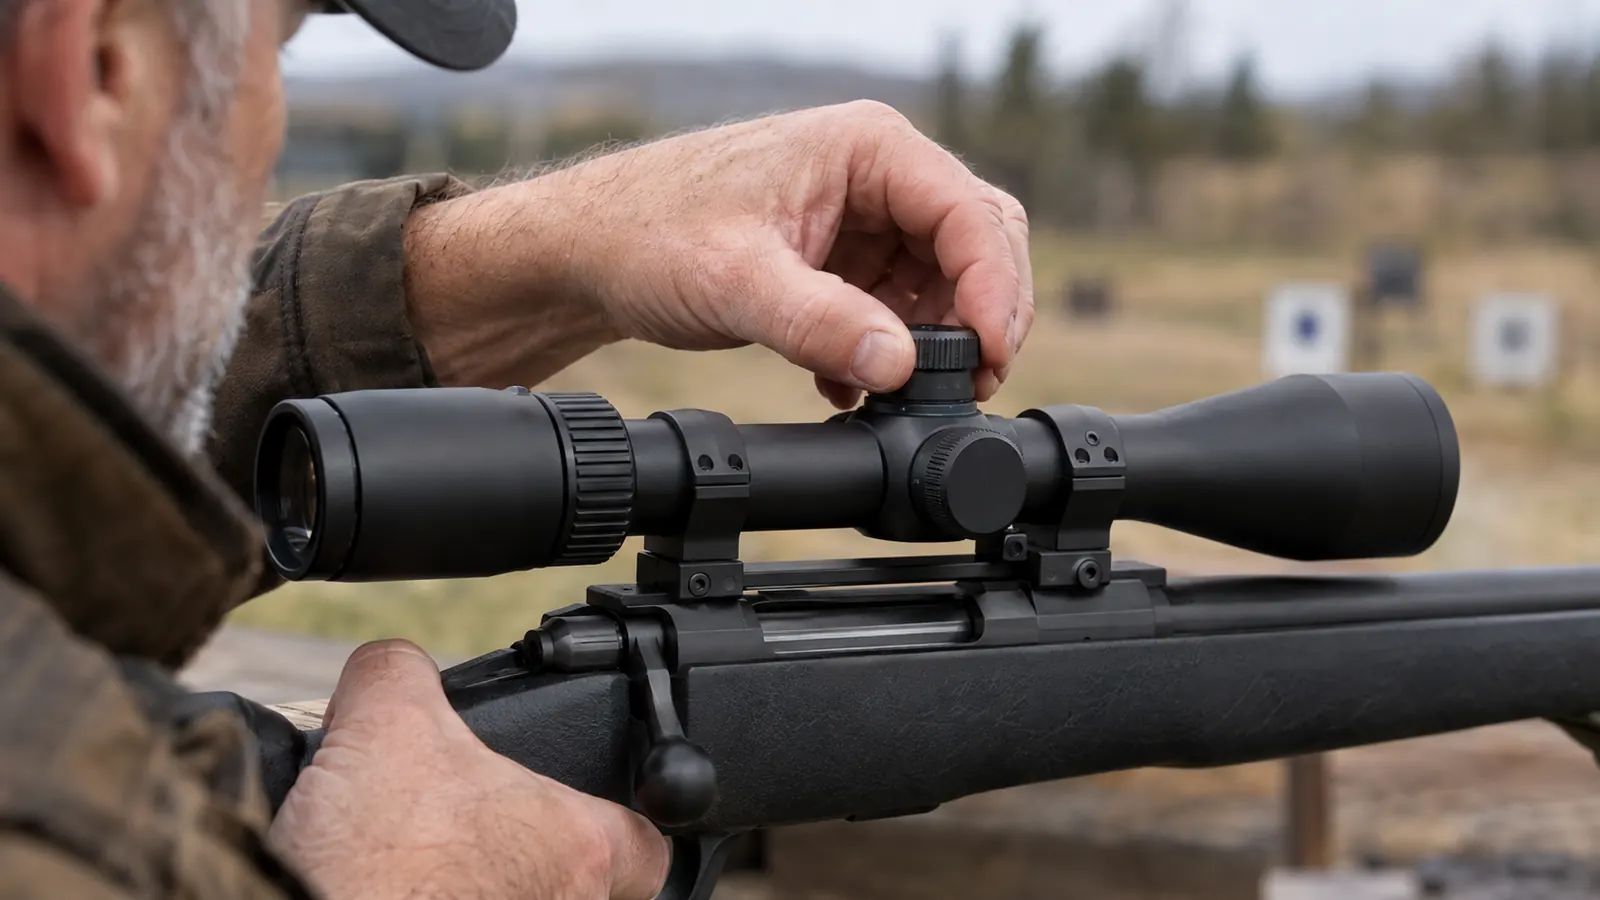
Before you worry about windage and elevation, make sure the scope is mounted correctly. A scope that sits crooked, or too far forward, or with the rings torqued unevenly, will fight you all day. I mount the Vortex so the eyepiece sits about three to four inches from my eye when I settle into a natural shooting position. That gives me a full sight picture without stretching my neck.
Level the reticle against the rifle action, not against the floor. Use a small bubble level on the scope cap if you have one. Tighten the ring screws evenly, in small turns, alternating from one side to the other. If you rush this step, every click of adjustment will feel like it is doing something different than it actually is.
One rainy September afternoon, I helped a neighbor mount a new scope on his deer rifle. He had watched a video that said to snug the rings down good and tight, so he did, with a crescent wrench. The rifle shot a pattern the size of a dinner plate at 100 yards. I loosened the rings, checked the alignment with a straight edge along the top of the receiver, and torqued every screw to the same value. The next group went into an inch. The scope was not the problem. The mount was. If you are doing this for the first time, take the extra twenty minutes to mount the scope on a solid bench with the rifle in a padded cradle. Put a small dab of thread locker on the base screws and let it cure before you torque the rings. Set the eye relief with the rifle shouldered and your eyes closed, then open them and check that the full sight picture is there without moving your head. Do this once, carefully, and every later step gets easier. A scope that is mounted crooked will not hold a zero no matter how many clicks you give it.
Step 2: Bore Sight at Home or at the Range
Bore sighting saves you ammunition and frustration. Remove the bolt from the rifle, look through the bore from the breech end, and center the target in the middle of the barrel. Then, without moving the rifle, adjust the scope until the reticle sits on the same spot. If you have a collimator or a laser bore sighter, use it. If not, the old bolt-out method works fine.
On my .308 with the Vortex, bore sighting usually puts the first shot on the paper at 100 yards. That is the whole point. You are not trying to be precise at this stage. You are trying to get close enough that the first live round lands on the target instead of somewhere in the dirt beyond the berm.
Last spring I helped a friend zero a rifle that had been shooting six inches high no matter what he did with the turrets. He had been adjusting the scope by feel, counting clicks without ever looking at the markings. When I bore sighted it with the bolt out, I could see the reticle was sitting almost two inches off the bore at 25 yards. We set the reticle on the bore, took the rifle to the bench, and his first shot at 100 yards landed two inches low and one inch left. That is not a magic result. It is what happens when the bore and the scope are pointed at the same thing. The bolt-out method takes ten minutes and costs nothing, and it has never failed me. If you use a laser bore sighter, remember that the laser is not the bullet. It shows where the barrel points, not where the bullet will land, and it can be off by an inch or more depending on the crown. Use it to get on paper, then trust the groups. That first trip to the range took us maybe an hour and cost seven rounds of ammunition.
Step 3: Fire a Three-Shot Group at 25 Yards First
I know this sounds backwards, but start at 25 yards, not 100. Shoot a slow, careful three-shot group at 25 yards, with a clean target, from a solid rest. Adjust the scope so the group lands about an inch and a half below the center of the target. That gets you on paper and close to zero before you ever send a round at the 100-yard berm.
Why an inch and a half low? Because most rifle and scope combos will rise a little as the range opens up, and because you want your first 100-yard group to land on the paper, not over the top of it. The exact amount varies, but an inch and a half low at 25 yards is a safe starting point for most centerfire rifles.
One September afternoon at the gravel pit, I watched a young guy burn a full box of ammunition trying to zero at 100 yards. His first three shots were high and left, and instead of measuring the group and making one adjustment, he fired single shots and turned the turrets after every one. After twenty rounds he had a target that looked like a shotgun pattern and a scope that was no closer to zero. I walked over and had him shoot three rounds at the 25-yard target. The group landed three inches high and two inches right. We clicked the scope down twelve clicks and left eight clicks, shot another three, and the group settled right where it should. He moved back to 100 yards and was on paper with four rounds left in the box. That is the whole argument for starting close. You learn the rifle, you learn the scope, and you spend your ammunition confirming instead of searching. I have used this same method on every rifle I have owned, including the .308 I carry now. It has never once failed to put me on the 100-yard paper with the first group. That is worth more than any fancy rangefinder.
Step 4: Zero at 100 Yards With Three-Shot Groups
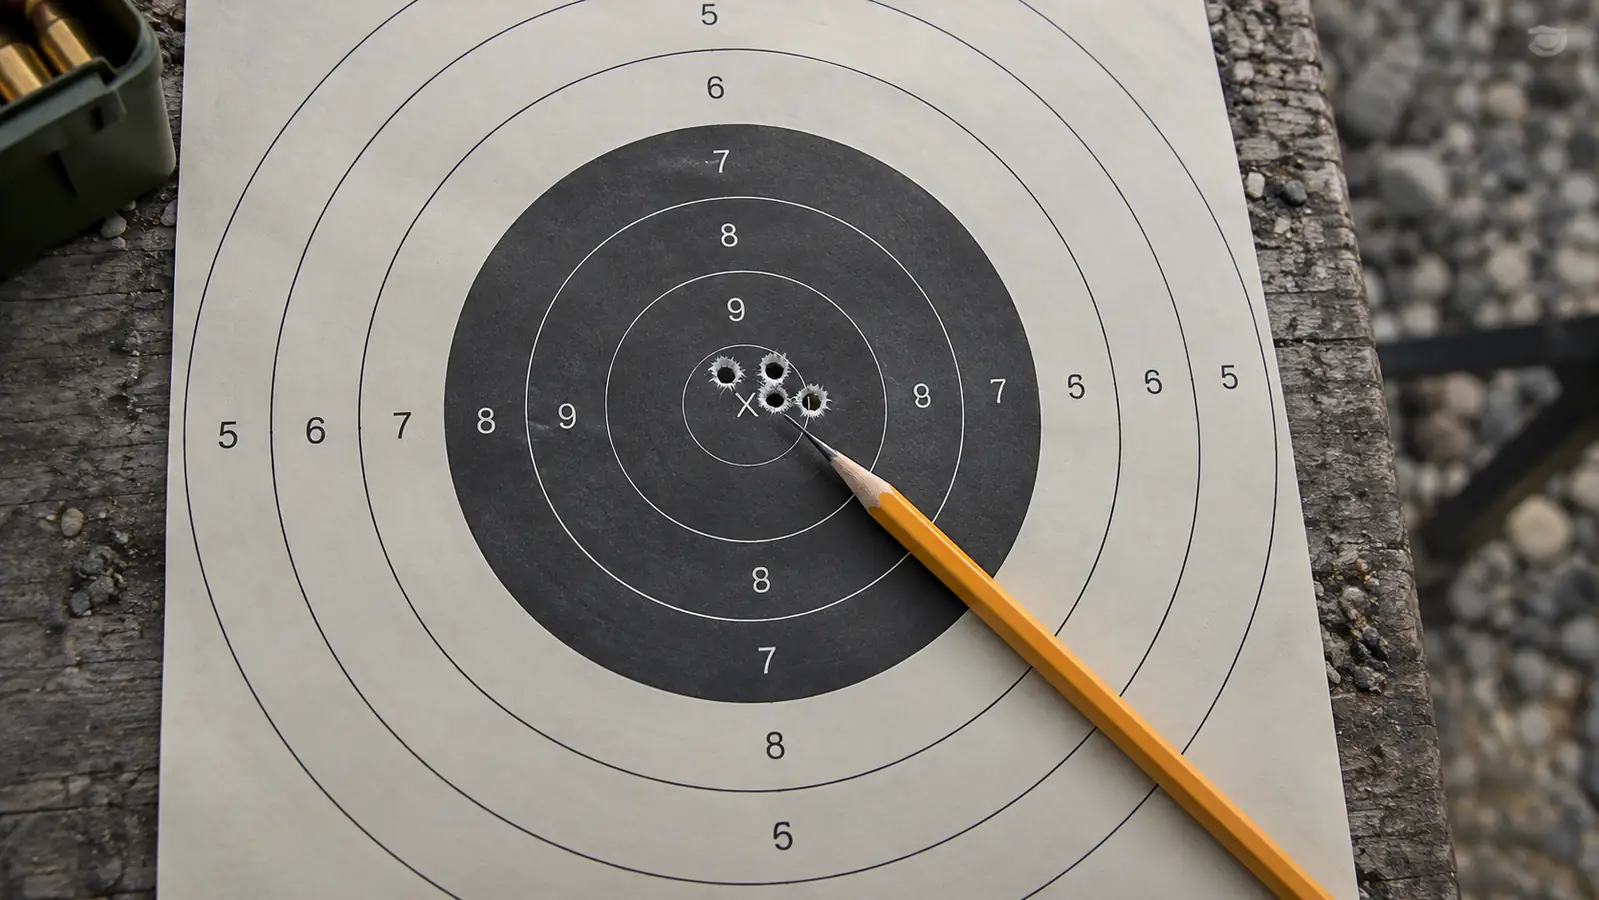
Now move to the 100-yard bench. Shoot a three-shot group, using the same point of aim every time. Do not chase the individual holes. Look at the center of the group, measure how far it is from the center of the target, and adjust the scope accordingly. With the Vortex Crossfire II, each click on the turret moves the impact a quarter inch at 100 yards, which is about four clicks per inch.
For example, if your group lands two inches low and one inch right, dial eight clicks up and four clicks left. Then shoot another three-shot group. Repeat until the group center sits where you want it. For a hunting rifle, I zero two inches high at 100 yards. That puts me close to dead on at 200 yards and a few inches low at 250, which covers most of my shots without touching the turrets.
Give the rifle time to cool between groups. A hot barrel will open up your groups and make you chase a problem that is not actually there. I shoot a group, walk down to check the target, let the rifle sit for a few minutes, and then shoot again. This is not a race.
Last fall I swapped the Crossfire II onto my .308 after the old fixed-power scope fogged on a cold November hunt. At the bench, my first 100-yard group printed three inches low and one and a half inches right. That is twelve clicks up and six clicks left on the Crossfire II. I dialed it, shot another three, and the group center landed one inch high and half an inch left. Two clicks down and one click right put me exactly where I wanted. Total: fifteen rounds, about forty-five minutes, and a zero I have not touched since except to check it in the spring. I record the numbers in a small notebook and on a card taped inside the rifle case, because a zero you cannot recreate is not a zero. The Crossfire II tracks the way a hunting scope should: each click is firm, audible, and repeatable, so when I come back to the gravel pit in April the same setting puts the group in the same place. That is the kind of consistency that lets you stop worrying about the equipment and start thinking about the shot.
Step 5: Confirm at 200 Yards and Record Your Zero
Once the 100-yard zero is solid, set up a target at 200 yards and shoot one more three-shot group. With a two-inch-high zero at 100 yards, a typical .308 load will land very close to the point of aim at 200. If it does not, you are not chasing windage. You are checking to see whether your load, your rifle, and your scope agree on the trajectory. That information matters more than the group size.
When the 200-yard group confirms the zero, write it down. Tape a small card inside your rifle case with the zero distance, the load, the temperature, and the date. I keep a field note with the elevation setting on the Vortex turret marked with a tiny paint dot, so I can return to zero even if the turret gets bumped. A confirmed zero is worthless if you cannot recreate it. I write the load on the card too, because a zero for one load is not a zero for another. If you switch bullets, start the process over.
One last thing. Before you trust that zero on a live animal, shoot from the positions you will actually use. Prone, kneeling, or over a pack, if that is how you hunt. A bench rest zero is a starting point. The zero that matters is the one that holds when your heart is pounding and the rifle is resting on a stump.
What Else Helps
A rear bag made from an old sock filled with rice beats a hard rest for keeping the rifle steady. A solid front rest or bipod makes a huge difference. And check the ring screws and base screws before every range session, not just once a year. I have seen more zeros wander because of loose screws than because of bad scopes. A Vortex scope will hold its setting; you have to make sure the mount holds too.
If you hunt where the shots stretch past 250 yards, confirm at 300 after the 200-yard group is solid. The 100-yard zero gets you on the mountain; the longer confirmation tells you where the bullet will actually be.
With the Vortex Crossfire II, each click moves the impact a quarter inch at 100 yards. Four clicks per inch, and you are done chasing holes.
A Scope That Makes the Process Simple
The Vortex Crossfire II 3-9x40 has clear glass, predictable clicks, and a lifetime warranty that has never asked me a question. If you are sighting in a rifle this season, start with a scope that will not fight you. Check today's price on Amazon.
Amazon Check Today's Price on Amazon →