
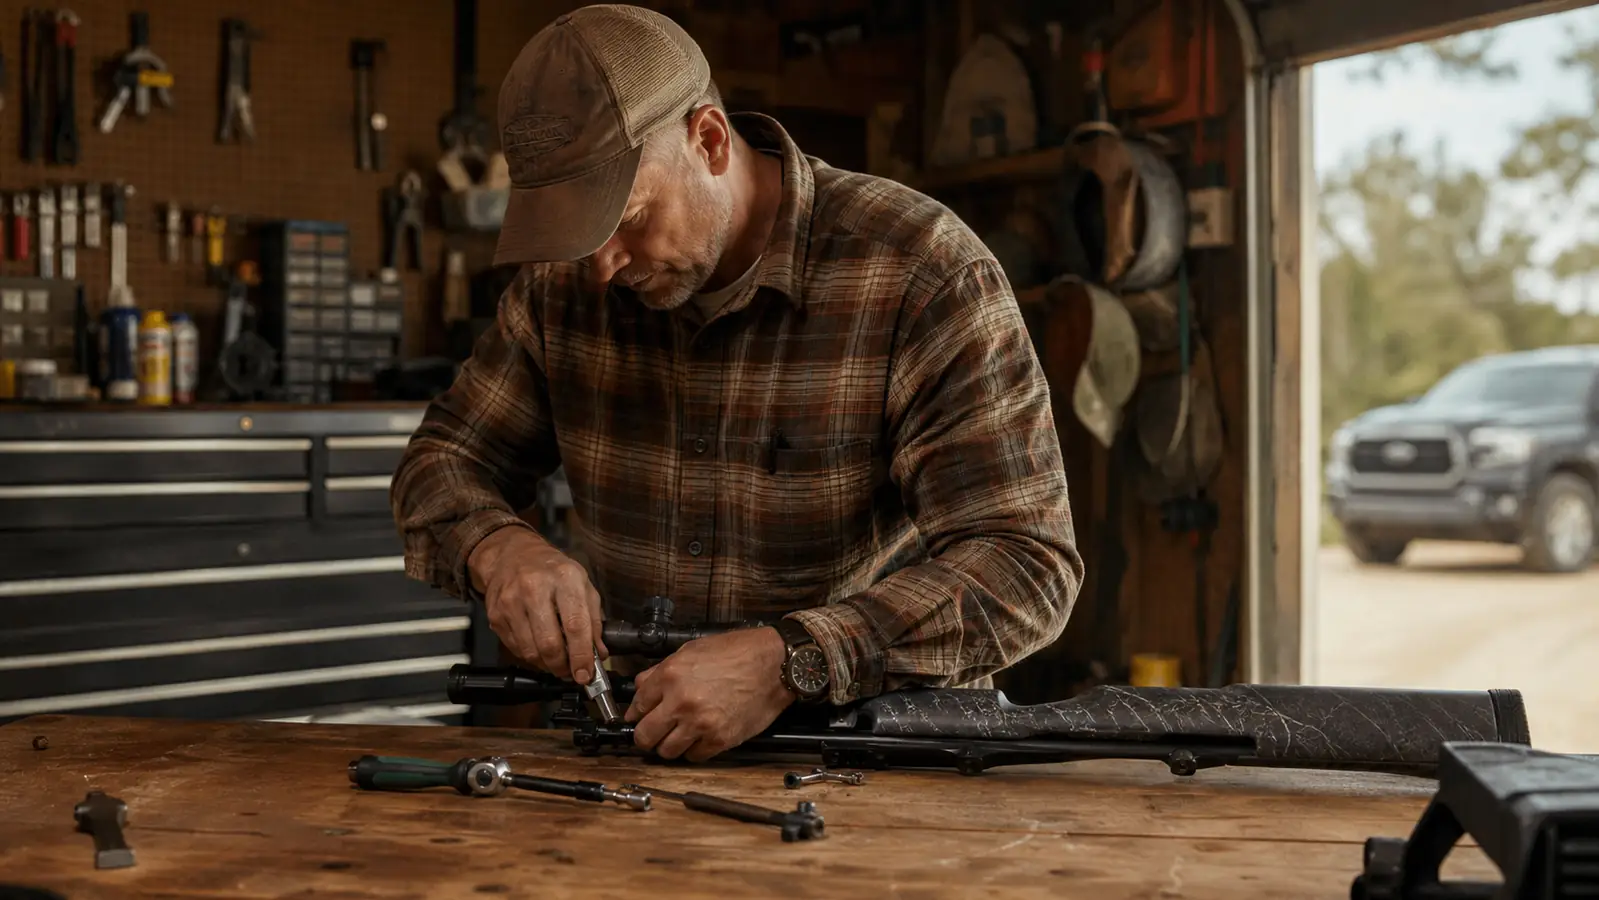
The first scope I ever mounted, I did it with a pair of pliers and a lot of confidence. It held zero for about one afternoon, then the rings worked loose on a logging road and I spent the next week re-sighting at the gravel pit. That was thirty years ago, and I have done it the careful way ever since. If you are about to mount a scope on a bolt-action rifle, the good news is that the whole job takes about an hour, a few basic tools, and a set of rings that does not fight you. I have used Vortex Hunter rings on my .308 for years, and they are what I reach for when I help a buddy mount his first scope.
Most mounting problems are not really scope problems. They are ring problems. A scope that is clamped unevenly, torqued wrong, or lapped poorly will lose zero, shift point of impact with temperature, or just plain slip. The steps below are the ones I actually use, in the order I use them, with the mistakes I have made so you do not have to repeat them.
Start with rings that hold, so the scope does the rest
Vortex Hunter rings are machined from a single piece of aluminum, which means fewer parts to come loose and a solid seat for the scope tube. They are the rings I have on my .308 right now.
Amazon Check Today's Price on Amazon →Step 1: Gather the right tools and the right rings
You need a torque wrench that reads inch-pounds, not a guess. A cheap inch-pound torque wrench costs less than a box of ammo and it is the difference between a ring that holds and a ring that crushes a scope tube. You also need a set of hex keys that fit the ring screws, a small amount of thread locker, and a clean, flat surface to work on. A padded bench or a folded towel under the rifle keeps the finish safe while you work.
The rings matter more than most people think. Vortex Hunter rings are a single-piece design, so there is no separate base and cap to line up. That removes the most common source of cant, which is a ring cap that sits slightly crooked and puts uneven pressure on the scope. The rings come in 1 inch and 30mm tube sizes, and in medium and high heights. For a standard bolt-action with a 40mm objective lens, medium is usually right. If your bolt handle clears the scope with room to spare, you have the right height.
Before you start, check that the base on your rifle is solid. If you have a one-piece base, make sure the screws are tight and the base does not rock. If you have a two-piece base, the same rule applies. A scope cannot hold zero on a base that moves. I check mine every fall before hunting season, and it takes two minutes. Last October I found a front base screw on my .243 that had backed out a half turn, and that was a rifle that had not been touched since the previous season. Two minutes with a hex key saved me a frustrating day at the range.
Step 2: Set the rings on the base and get the spacing right
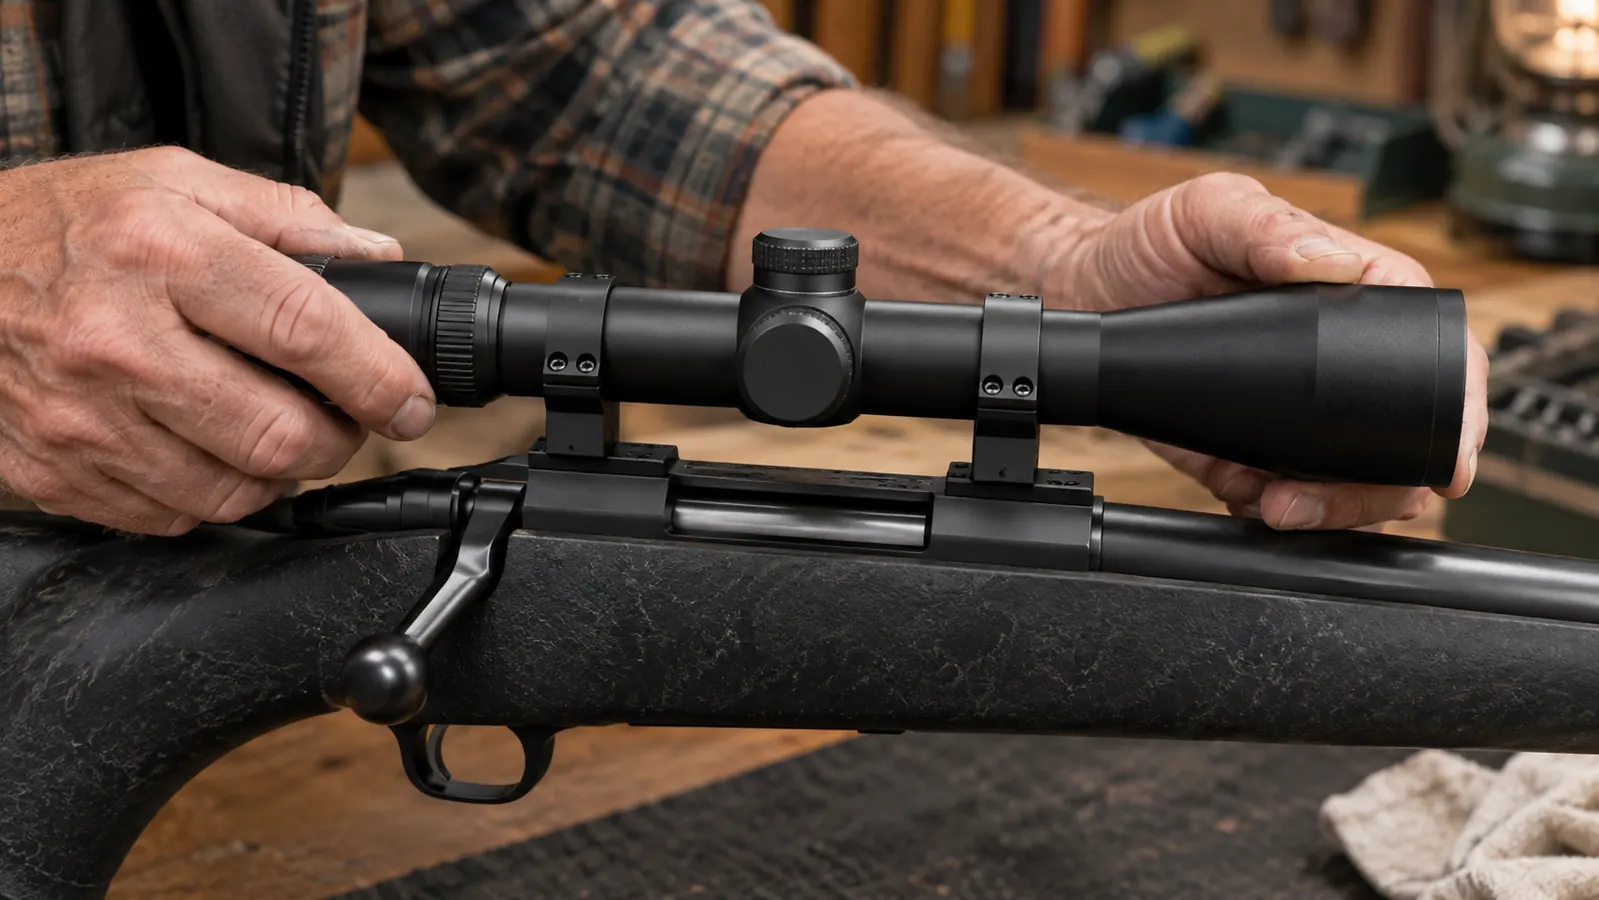
Lay the rings on the base and slide the scope into them without tightening anything. The scope should sit with the eyepiece far enough back that you get a full sight picture when you shoulder the rifle naturally, and far enough forward that the scope does not hit you in the eyebrow on recoil. That balance is called eye relief, and getting it wrong is the most common reason a new scope setup ends up with a bruised brow and a flinching shooter.
A good starting point is to slide the scope forward in the rings until the rear of the scope is about three inches from your eye when you mount the rifle. Then close your eyes, shoulder the rifle, and open your eyes. If you see a full circle of image, the eye relief is close. If you see a black ring around the edge, the scope is too far forward or too far back. Adjust in small steps, a quarter inch at a time, until the picture is full and quick. I set mine a little farther forward than the book says, because I shoot in cold weather with a heavy coat and I do not want the scope to meet my eyebrow when the snow starts.
The rings should be spaced so the scope tube is supported evenly, with the front ring near the turret and the rear ring near the eyepiece. Do not crowd both rings toward the middle. A scope that is supported at two wide points holds its zero better than one that is clamped at the ends. On my .308, the rings sit about four inches apart, and that has been plenty for years of elk hunts in rough country. I have seen guys try to save weight by sliding both rings together in the middle, and every one of them has come back to the gravel pit with a zero that wandered.
Step 3: Level the rifle, then level the scope
Level the rifle first. Put the rifle in a vise or on a stable rest, and use a bubble level on the receiver or the scope base to get the action level side to side. If the rifle is canted, the scope will be canted, and you will chase a windage error that no amount of turret adjustment will fix. This is the step most people skip, and it is the step that causes the most frustration at the range.
With the rifle level, set a bubble level on the scope turret or on a flat part of the scope tube and rotate the scope until the bubble is centered. The reticle should be perfectly vertical when the rifle is level. A reticle that leans even a few degrees will cause your shots to drift left or right as the distance increases. At 300 yards, a reticle that is canted two degrees can move your impact several inches off the point of aim. I learned that the hard way on a mule deer hunt in Montana, when a rifle that shot fine at 100 yards was throwing shots four inches right at 300.
There are purpose-made scope leveling kits, but I have also done it with a pair of bubble levels and a straight edge. The important thing is that the rifle is level first, then the scope is leveled to the rifle. If you do it the other way around, you are leveling the scope to a rifle that is leaning, and the whole setup is wrong before you tighten a single screw. A plumb line hung from the rafters of my garage works just as well as any store-bought tool, and it is free.
Step 4: Tighten the rings in the right order, to the right torque
This is where the torque wrench earns its keep. Vortex Hunter rings have a recommended torque spec printed in the instructions, and it is usually around 15 to 18 inch-pounds for the cap screws. Do not guess. A ring that is too loose lets the scope slip under recoil. A ring that is too tight can dent the scope tube and ruin the internal adjustments. The torque wrench takes the guesswork out, and it costs less than a box of premium ammo.
Tighten the screws in a crisscross pattern, a little at a time, the same way you tighten lug nuts on a wheel. If the ring has four screws, tighten the front left, then the rear right, then the front right, then the rear left. Go around twice, adding a few inch-pounds each pass, until you reach the spec. This keeps the pressure even and prevents the scope from being pulled to one side. On my first careful mount, I tightened the rear screw all the way first and the scope sat cocked in the rings by the time I finished. It took me an hour to figure out why the reticle would not level.
A light drop of thread locker on the base screws is a good idea, especially if you hunt in rough country where vibration is constant. Use the blue kind, not the red kind. Blue holds, red requires heat to break loose, and you do not want to fight red thread locker in the dark at the end of a long day. I have used blue on every rifle I own, and I have never had a base screw back out. I put a drop on the ring screws too, but only a small one, because you will want to swap scopes between rifles someday and you do not want to fight that either.
Step 5: Bore sight, then sight in at the range
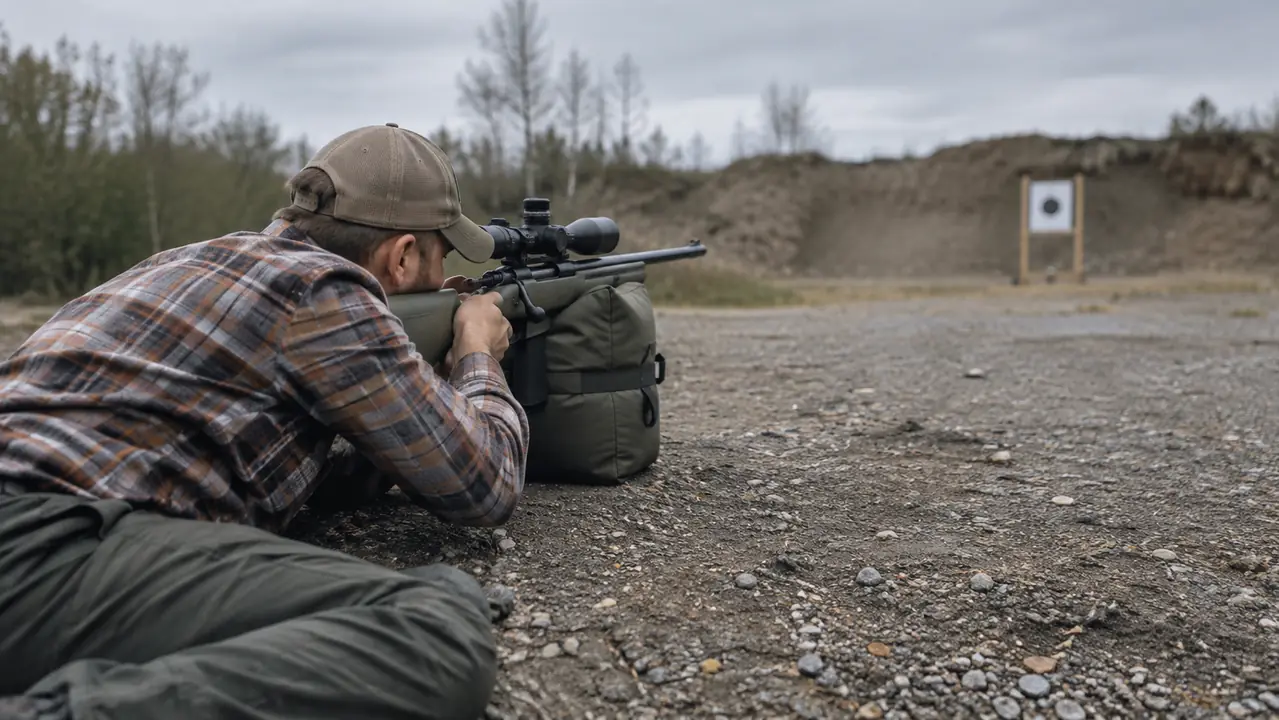
Bore sighting gets you on paper so the range session is not a waste of ammo. Remove the bolt, look through the bore at a target about 25 yards away, and center the target in the bore. Then, without moving the rifle, adjust the scope until the reticle is also centered on the target. If the rifle is in a solid rest, this takes about five minutes and gets you close enough to start at 100 yards. I have a cheap laser bore sighter that I use in the garage first, then I confirm the old way at the gravel pit, and the two usually agree within a couple of inches at 25 yards.
At the range, start at 25 yards to confirm you are on paper, then move to 100 yards and shoot a three shot group. Adjust the turrets in the direction the group needs to move, and remember the old rule: if the group is low, adjust up; if the group is left, adjust right. The turret clicks on most scopes are a quarter inch at 100 yards, so four clicks move the impact one inch. Write down your zero and your load, because a rifle that is zeroed for one load may shoot somewhere else with another. I keep a spiral notebook in the truck with the zero and the load for each rifle, and it has saved me from redoing work I already did.
After the first box of ammo, check the ring screws one more time. Heat from the barrel and vibration from recoil can settle things, and a quarter turn on a screw that has worked loose is a lot cheaper than a lost elk. I check mine after the first range session, then again after the first hunt. That routine has kept my .308 shooting where I point it for years. Two seasons ago I found the rear ring cap screw on that rifle a quarter turn loose after a week of rough roads, and a quick snug with the torque wrench put it back to spec before the next hunt.
What Else Helps
A good set of rings is the foundation, but a few extras make the whole setup easier to live with. A one piece base is worth the money if your rifle does not already have one, because it gives the rings a single solid platform. A set of scope leveling wedges takes the guesswork out of Step 3. And a bore sighter with a laser, or even the old look through the bore method, saves you a box of ammo every time you remount a scope. None of these are expensive, and all of them make the difference between a frustrating afternoon and a quick trip to the gravel pit. The other thing that helps is a second pair of hands. My wife Deb holds the rifle steady while I snug the base screws, and it beats balancing the action on a stack of books.
A scope that is clamped unevenly, torqued wrong, or lapped poorly will lose zero, shift point of impact with temperature, or just plain slip.
Mount it once, with rings you can trust
Vortex Hunter rings are the ones I have on my .308, and they are the ones I recommend to anyone who wants a scope that stays put. Check the current price on Amazon and get your rifle ready before the season starts.
Amazon Check Today's Price on Amazon →